This article was generated with AI assistance from cited sources and has not been individually reviewed by an editor.
Cell-level repair is not swapping a module and hoping. It is a disciplined sequence, and the steps that get skipped are the ones that cause the second failure. Here is the process as it should run in the field, and where each step bites if rushed.
Step 1 — Thermal-event triage. Before anyone opens anything, the system must be made safe: disconnect, de-energise, and verify the affected module is thermally stable. A module that is still warm, swollen or venting is not a repair job; it is a hazard that must be isolated and monitored until stable. Skipping this is how a repair becomes an incident.
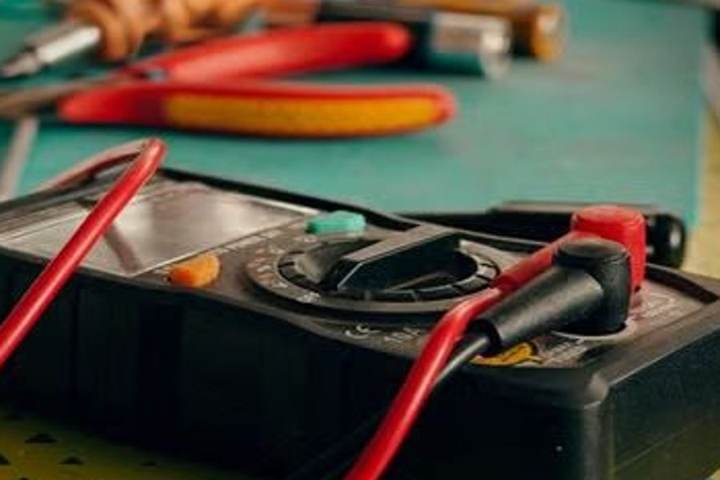
Step 2 — Cell-level diagnostics. Read the BMS cell map: voltages, temperatures, internal resistance. The goal is to identify the failed cell or cell group with measurement, not guesswork. If the BMS does not expose cell-level data — a design choice, not an accident — diagnostics becomes destructive and slow, and the owner pays for it.
Step 3 — Isolation and disassembly. Open the module to the point where the failed cell or group can be removed without disturbing healthy neighbours. Serviceability design decides how far this can go: busbar-accessible and documented modules disassemble cleanly; potted or sealed modules do not, and “disassembly” becomes “destruction”.
Step 4 — Cell or group replacement. Replace the failed cell(s) with matched units — matched for chemistry, capacity and internal resistance. Dropping a new cell next to aged neighbours without matching is how you create the next imbalance and the next failure.
Step 5 — Re-seal, re-verify, re-commission. Reassemble, restore the thermal and electrical interfaces, run the full commissioning sequence — isolation checks, insulation resistance, and a charge/discharge cycle — and verify the module is balanced with its neighbours before returning it to service.
Step 6 — Record and learn. Log the failure mode, the parts, the measurements and the outcome. This record is the difference between a one-off fix and a fleet that gets better. It is also the evidence your insurer and your warranty provider will ask for.
The economics mirror the automotive lesson the industry already learned: replacing the failed cell or module costs a fraction of replacing the pack, but only when the asset was bought serviceable and diagnosed properly. The full-pack swap looks cheaper on a slide because it is simpler to quote and faster to complete, but its real cost is the residual value of all the healthy cells you are throwing away — cells with years of life left, discarded because no one could, or would, repair the one that failed. The counterweight is risk: opening a sealed high-voltage unit introduces responsibility for sealing, thermal management and electrical isolation, and a badly executed cell repair is worse than no repair. That is why the six steps matter: they are what converts a cheaper-in-theory repair into a cheaper-and-safe-in-practice one. The owner who bought serviceable, bought diagnostics, and contracted a certified technician gets the savings; the owner who bought sealed gets the swap, and the bill.
No manufacturer or EPC reviewed this guide before publication. Corrections are published, and flagged, within 48 hours of verification. Sources: automotive module-repair practice (Brake & Frontend, Underhood Service, 2024); FM Global DS 5-33 failure modes and BMS isolation limits; EPRI BESS Failure Incident Database.